

A Thatcham S7 tracker is defined as an insurance-approved asset location system that alerts a secure operations centre when your vehicle moves without the ignition on, or when the battery is disconnected. Fitting one correctly is not optional if you want your theft insurance to remain valid. UK insurers require certified installation by a qualified engineer, and a DIY job voids that coverage entirely. This Thatcham S7 tracker installation guide covers every stage: tools, wiring, common mistakes, and why professional fitting is the only route to full insurance compliance.
What tools and prerequisites do you need before installing a Thatcham S7 tracker?
Preparation determines whether the installation works first time or fails at the first pothole. Gathering the right tools before you start prevents mid-job improvisation, which is where most wiring errors begin.
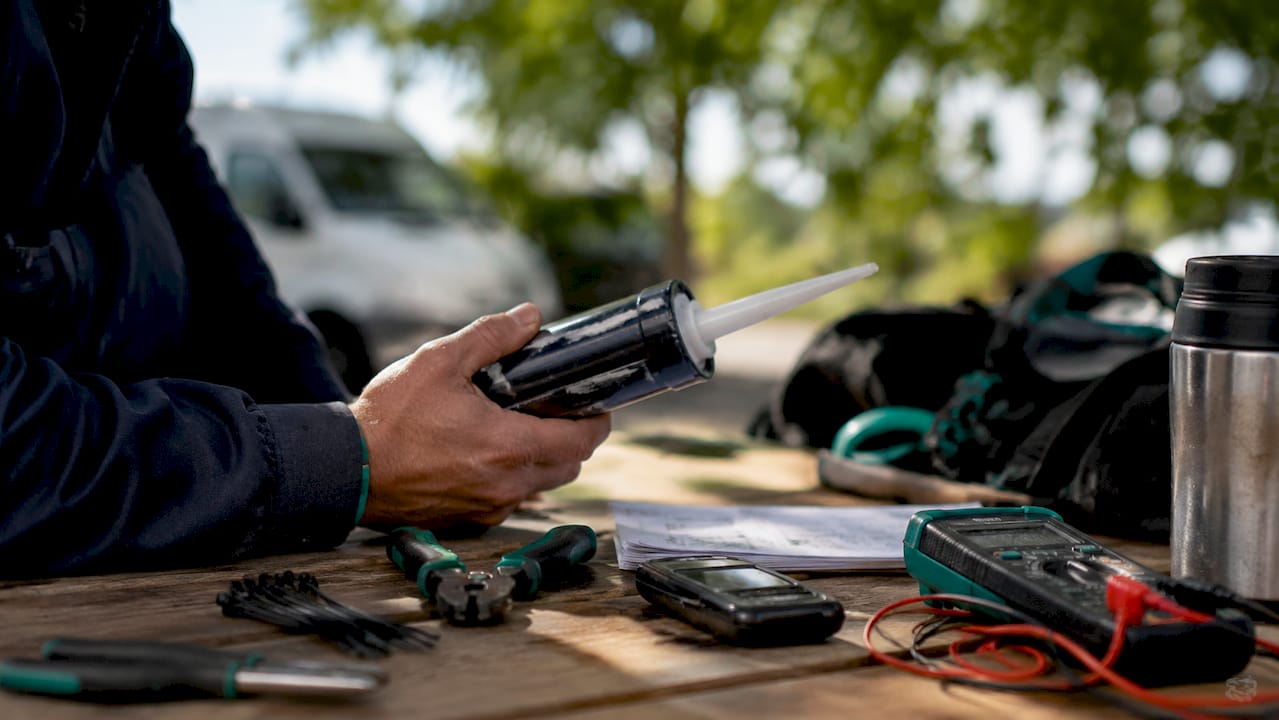
Essential tools
Successful tracker installation depends on having the correct equipment to hand. The following tools are the minimum required for a professional-grade result.
- Digital multimeter — tests voltage at power sources and confirms a solid chassis ground before any wire is connected
- Wire strippers — removes insulation cleanly without nicking the copper core, which causes resistance and heat
- Electrical tape and heat-shrink tubing — seals all connections against moisture and vibration
- High-quality cable ties — secures wiring runs to existing looms so nothing rattles or snags
- Add-a-Circuit fuse taps — connects to the fuse box without cutting factory wiring
- Industrial adhesive or double-sided mounting tape — fixes the tracker body to a solid surface
Pre-installation vehicle checks
| Check | What to look for | Why it matters |
|---|---|---|
| Battery voltage | 12.4V or above at rest | Confirms the vehicle’s electrical system is healthy |
| Constant 12V supply | Present with ignition off | Keeps the tracker powered around the clock |
| Chassis ground point | Clean, bare metal contact | Prevents voltage drop and false alerts |
| Fuse box access | Spare fuse slot available | Allows Add-a-Circuit tap without cutting wires |
| Mounting surface | Rigid, vibration-free area | Stops rattling and motion-triggered false alarms |
A constant 12V power source that stays live with the ignition off is the single most critical prerequisite. Without it, the tracker powers down when you park, leaving your vehicle unmonitored overnight.
How do you correctly install a Thatcham S7 tracker step by step?
The following steps reflect the standard process used by certified engineers. They apply to most passenger cars and motorhomes. Always consult your specific device’s manual alongside this guide, as connector positions vary by model.
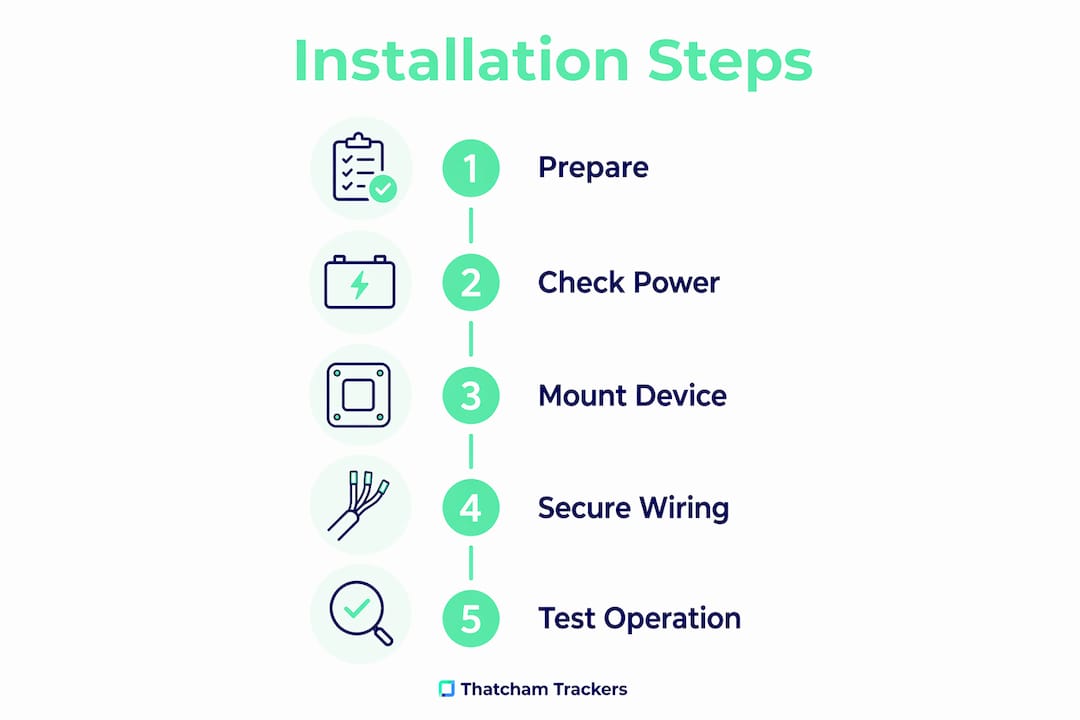
Step-by-step installation process
-
Choose the mounting location. Select a hidden, rigid surface away from heat sources and moving parts. Common positions include behind the dashboard, under a seat, or inside a door pillar. The location must allow a clear GPS signal path, so avoid thick metal enclosures.
-
Disconnect the vehicle battery. Remove the negative terminal before touching any wiring. This prevents short circuits and protects the vehicle’s ECU during the installation.
-
Identify your power sources. Use the digital multimeter to locate a constant 12V feed and a suitable chassis ground point. Test both with the ignition on and off to confirm which feeds are switched and which are permanent.
-
Install the Add-a-Circuit fuse tap. Add-a-Circuit fuse taps connect to the fuse box without altering the original wiring. This preserves the vehicle warranty and provides a clean, fused power supply to the tracker. Select a fuse slot rated at or below the tracker’s maximum current draw.
-
Run the power and ground wires. Route cables along existing wiring looms, securing them with cable ties every 150mm. Avoid routing near exhaust heat or moving components. Strip only enough insulation to make a clean connection.
-
Connect and insulate all joints. Use heat-shrink tubing over every connection point. Electrical tape alone is not sufficient for long-term reliability in a vehicle environment.
-
Mount the tracker body. Apply industrial adhesive to the mounting surface and press the device firmly into place. Allow the adhesive to cure before reconnecting the battery. Cable ties alone are not reliable for permanent mounting.
-
Reconnect the battery and test. Reattach the negative terminal and use the multimeter to confirm correct voltage at the tracker’s power input. Check that the device powers on and registers with the monitoring platform.
-
Activate the system. Follow the manufacturer’s activation process via the tracking app or monitoring software. Confirm the device appears online and that the secure operations centre acknowledges the unit.
-
Conduct a movement test. With the ignition off, gently rock the vehicle to confirm no false motion alerts are triggered. A well-mounted tracker on a solid surface will not generate spurious alerts.
Pro Tip: Use industrial adhesive as the primary fixing method and cable ties as secondary support. Adhesive alone holds better than cable ties alone, and the combination survives the vibration of long motorway runs without working loose.
What common mistakes should you avoid during Thatcham S7 tracker installation?
Most installation failures come down to a small number of repeatable errors. Knowing them in advance saves time, money, and the risk of a voided insurance claim.
Mistakes that compromise security and compliance
- Using a switched 12V feed instead of a constant one. A switched feed cuts power when the ignition is off. The tracker goes dark precisely when theft is most likely.
- Poor chassis ground connection. A ground point on painted metal rather than bare steel causes voltage drop. The tracker behaves erratically and may generate false alerts.
- Cutting factory wiring instead of using fuse taps. Cutting wires voids the vehicle warranty and introduces connection points that corrode over time.
- Mounting the tracker on a flexible surface. Plastic trim panels flex during driving. A tracker fixed to flexible trim will vibrate, triggering motion alerts and potentially disconnecting internal connectors.
- Skipping the multimeter test. Assuming a wire is live without testing it is the most common cause of a non-functional installation.
- Leaving excess cable unsecured. Loose cable loops catch on moving parts or rattle against bodywork, generating noise and potential short circuits.
Poor installation causing rattling or false alerts can disconnect the tracker from the monitoring centre entirely. That means your vehicle is no longer being watched, even though the device is physically present.
Incorrect wiring that causes the tracker to disconnect during movement creates gaps in monitoring. Those gaps are exactly what a professional thief looks for.
Pro Tip: After completing the installation, drive the vehicle for 30 minutes on a mixed route including speed bumps. Check the monitoring platform afterwards to confirm continuous tracking throughout. Any gap in the log points to a loose connection or power interruption.
For further guidance on best practices for S7 trackers, Thatcham Trackers publishes a dedicated 2026 guide covering the full range of compliance requirements.
Why is professional installation important for insurance compliance?
Professional installation is not a recommendation. For a Thatcham S7 tracker to satisfy UK insurer requirements, the fitting must be carried out by a certified engineer who can issue a verification certificate.
Thatcham Research certifies vehicle security devices against defined performance standards. Insurance underwriters use those certifications to assess theft risk and set premiums. A device fitted without certified installation cannot be verified as compliant, so the insurer has no basis to honour a theft claim that relies on tracker evidence.
DIY installation of Thatcham S7 devices invalidates theft insurance because underwriters require certified installation proof. That proof takes the form of a certificate issued by the installing engineer at the time of fitting. Without it, the tracker is simply a consumer GPS device with no insurance standing.
Professional installation provides the necessary certification paperwork confirming compliance with security standards. It also reduces the risk of tampering, because a certified installer knows how to conceal the device and its wiring so that a thief cannot locate and disable it quickly.
The S7 category covers asset location systems that alert the secure operations centre on unauthorised movement or battery disconnection. That alert function only works reliably when the device is wired correctly to a constant power source and mounted securely. A certified installer guarantees both. For a full explanation of why insurers mandate this, Thatcham Trackers covers the topic in detail in their guide on why insurance requires a Thatcham tracker.
Key takeaways
A Thatcham S7 tracker installation only delivers full insurance compliance and reliable theft recovery when carried out by a certified engineer using correct tools and wiring methods.
| Point | Details |
|---|---|
| S7 category definition | The S7 system alerts the monitoring centre on unauthorised movement or battery disconnection. |
| Constant 12V supply is critical | The tracker must stay powered with the ignition off to monitor the vehicle overnight. |
| Add-a-Circuit fuse taps protect wiring | Tapping the fuse box preserves the vehicle warranty and provides a clean, fused power supply. |
| DIY installation voids insurance | UK underwriters require a certified engineer’s certificate; without it, theft claims are not valid. |
| Secure mounting prevents false alerts | Industrial adhesive on a rigid surface stops vibration-triggered disconnections from the monitoring centre. |
What we have learned from fitting Thatcham S7 trackers
The most consistent finding across hundreds of installations is that preparation accounts for the majority of the outcome. Vehicles where the installer spent time identifying the correct constant 12V feed and a clean ground point before touching a single wire almost never come back with faults. Vehicles where those checks were skipped almost always do.
The second observation is about mounting. Cable ties feel secure in the workshop. On a motorhome covering 500 miles on mixed roads, they are not enough on their own. Industrial adhesive combined with secondary cable tie support is the standard that holds up in real conditions.
The question of DIY fitting comes up regularly. The honest answer is that the technical steps are not beyond a competent home mechanic. The problem is the certificate. No insurer will accept a self-issued declaration of compliance. The certificate must come from a certified engineer, and that requirement exists precisely because the consequences of a failed installation are borne by the insurer, not the installer. Professional fitting is not a commercial convenience. It is the mechanism by which the insurance contract remains intact.
For motorhome owners specifically, the challenge is locating a rigid, signal-friendly mounting point in a vehicle with significant amounts of fibreglass and insulation. A certified installer who has worked on motorhomes knows where those points are. That knowledge alone justifies the fitting fee.
— Thatcham Trackers
Certified Thatcham S7 trackers with professional installation
Thatcham Trackers supplies a full range of Thatcham-approved S7 trackers with nationwide professional installation included. Every fitting is carried out by a certified engineer and comes with the verification certificate your insurer requires.

All devices in the certified tracker range are independently tested and approved by Thatcham Research. Installation is booked directly through the website, with appointments available across the UK. If you need guidance on which category suits your vehicle and insurer requirements, the tracker selection page walks you through the decision clearly. Thatcham Trackers holds a 4.8 out of 5 rating on both Trustpilot and Google Reviews.
FAQ
What is a Thatcham S7 tracker?
A Thatcham S7 tracker is an insurance-approved asset location system that alerts a secure operations centre when a vehicle moves without the ignition on or when the battery is disconnected.
Does a Thatcham S7 tracker require professional installation?
Yes. UK insurers require certified installation and a verification certificate from a qualified engineer. DIY fitting invalidates theft insurance coverage.
What power supply does a Thatcham S7 tracker need?
The tracker requires a constant 12V supply that remains live with the ignition off. A switched feed cuts power when the vehicle is parked, leaving it unmonitored.
Can I install a Thatcham S7 tracker in a motorhome?
Yes, but the installer must identify a rigid, signal-friendly mounting point and a constant 12V feed within the motorhome’s wiring. A certified engineer with motorhome experience is the reliable choice.
How do I know if my Thatcham S7 tracker is working correctly?
After installation, confirm the device appears online in the monitoring platform and conduct a movement test with the ignition off. Any gap in the tracking log indicates a loose connection or power fault.