

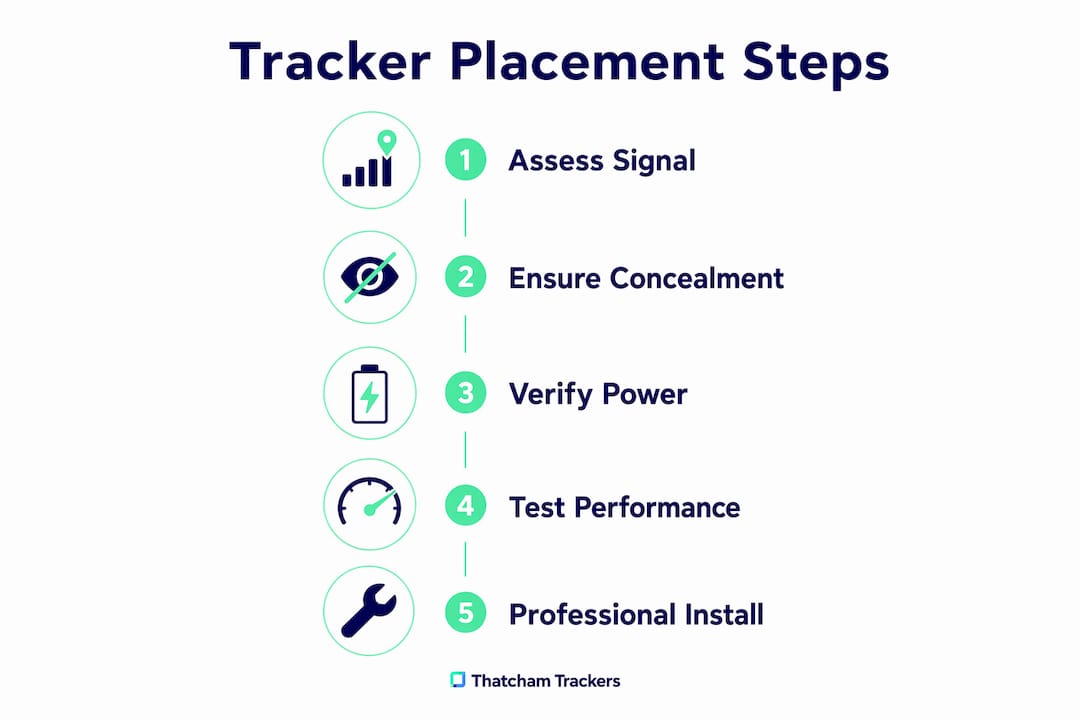
Correct tracker placement determines whether a device actually protects your vehicle. A tracker fitted in the wrong spot can lose satellite signal, be found and disabled by a thief in under a minute, or generate false alerts that undermine the entire system. Professional installer reports consistently identify poor concealment and metal interference as the primary failure modes. Every installation must balance three priorities: signal integrity (a clear path to GPS satellites and cellular networks), physical security (concealed and resistant to quick removal), and mechanical stability (a firm, flat mount for accurate motion sensing). Get all three right and the tracker works. Compromise any one of them and the security value drops sharply.
- Signal integrity: the antenna needs a skyward view through glass or plastic, not through steel panels or metal brackets.
- Physical security: the device must be hidden from a thief’s quick search and secured against fast removal.
- Mechanical stability: a loose or rattling mount introduces sensor noise, causing missed theft events or constant false alerts.
Thatcham Research, the UK’s central automotive risk intelligence organisation, certifies trackers against defined performance criteria. Insurers rely on those certifications when deciding whether a device qualifies for a premium reduction or is required under a policy condition. Placement that compromises device function can invalidate that certification in practice, even if the device itself carries a Thatcham approval.
Table of Contents
- Why placement changes what your tracker can and cannot do
- Where thieves look and which hiding spots carry real risk
- How to balance signal, security and stability in practice
- Placement guidance by vehicle type
- Why professional installation matters for safety and compliance
- How to test that your tracker placement is working
- How Thatcham approval and insurer expectations connect to placement
- The placement detail most owners overlook
- Thatcham Trackers: approved devices with certified installation
- Useful sources
Why placement changes what your tracker can and cannot do
The physical location of a tracker affects every function it performs, from acquiring a satellite fix to triggering a tamper alert.
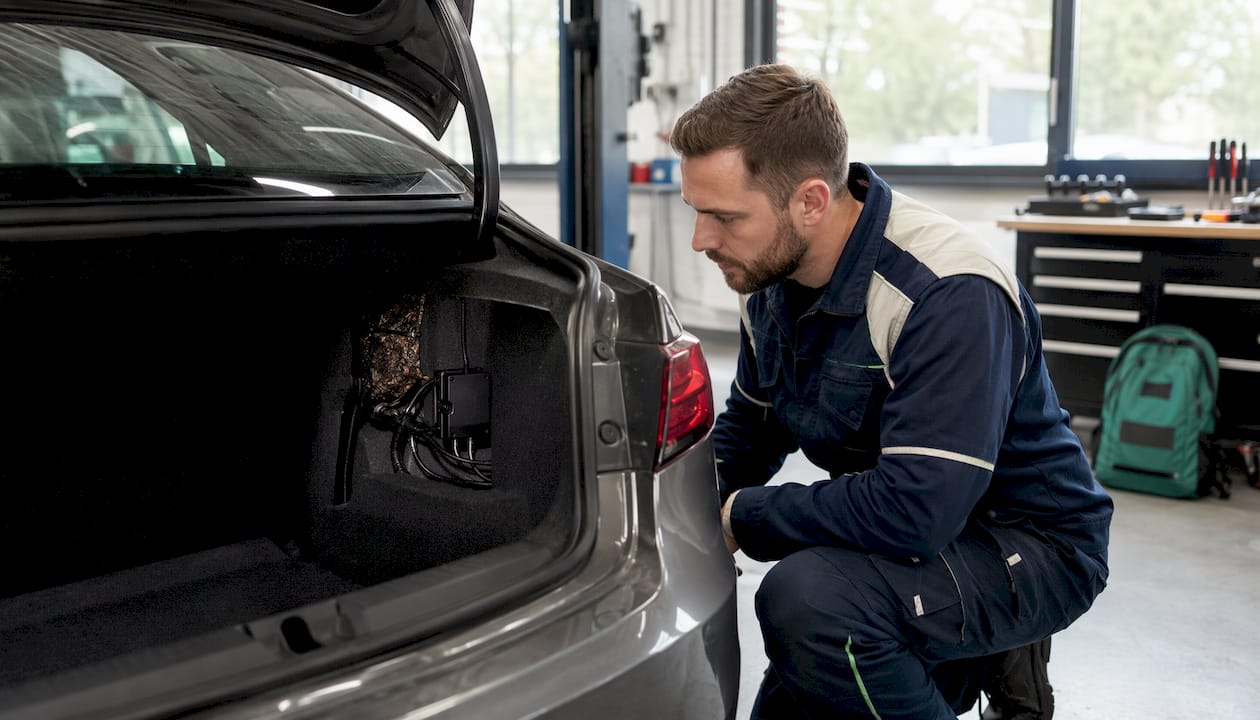
Signal effects are the most immediate. GPS signals are line-of-sight radio waves. Steel body panels, metal crossmembers, and even thick aluminium trim reflect or absorb them, causing slow satellite lock and stop-start tracking. A tracker tucked under a steel crossmember may take several minutes to acquire a fix, or lose position entirely in urban canyons where tall buildings already degrade reception. Cellular transmission for real-time reporting faces a similar problem: metal enclosures attenuate the signal and delay the alert reaching the monitoring centre. A device mounted on an interior plastic panel with a clear upward view to the rear windscreen, by contrast, typically locks satellites within seconds.
Sensor effects are less obvious but equally consequential. Modern telematics units contain accelerometers and gyroscopes. When the mounting surface is unstable, those sensors pick up vibration and flex from the vehicle body rather than genuine movement events. Loose trim produces noisy accelerometer readings that can both mask a real theft event and trigger repeated false motion alerts. Fleet managers using driver behaviour scoring are particularly affected: a unit rattling in a poorly secured bracket will generate inaccurate harsh-braking and cornering data.
Tamper and immobilisation behaviour depends on how accessible the device is. An exposed connector or a device clipped loosely behind a removable panel can be located by a thief probing wiring looms, then pulled free in seconds. Immobilisation circuits that are wired to accessible fuse positions are equally vulnerable. The wiring route matters as much as the device location itself.
A tracker hidden behind a steel crossmember with no sky view is, in practical terms, no better than no tracker at all. Signal loss at the moment of theft is the worst possible time for a device to go dark.
Where thieves look and which hiding spots carry real risk
Thieves who target high-value vehicles often know the common hiding places. Understanding which spots are genuinely risky helps you assess whether your current installation is adequate.
- Glovebox: high risk. The first place a professional thief checks. No signal benefit, no concealment value.
- Under the driver or passenger seat: moderate risk. Accessible during a vehicle search, but signal quality can be acceptable if the floor is plastic-lined. Wiring is often visible.
- Centre console cavity: moderate-to-high risk. Easy to access, frequently searched, and wiring routes are obvious.
- Wheel arches (behind plastic liners): moderate risk for signal, high risk for discovery. Thieves probe wheel wells and wiring looms routinely. Moisture and road debris are additional hazards.
- Behind front or rear bumper trims: high risk for discovery, moderate signal. Accessible with basic tools and frequently targeted on vans.
- Engine bay: very high risk. Extreme heat, vibration, and moisture degrade the device. Professional installers avoid this location for the tracker unit itself, though antenna cables may route through it.
DIY installers often default to the glovebox or under a seat simply because those locations are easy to reach without removing trim. The result is a device that offers minimal concealment and, in many cases, poor signal.
Pro Tip: Thieves use a systematic probe of wiring looms in the wheel well and under the dashboard to locate tracker power feeds. Routing the power cable through the vehicle’s existing loom, rather than running a separate visible wire, removes the most obvious search cue. A professional installer will hide the wiring within factory harnesses wherever possible.
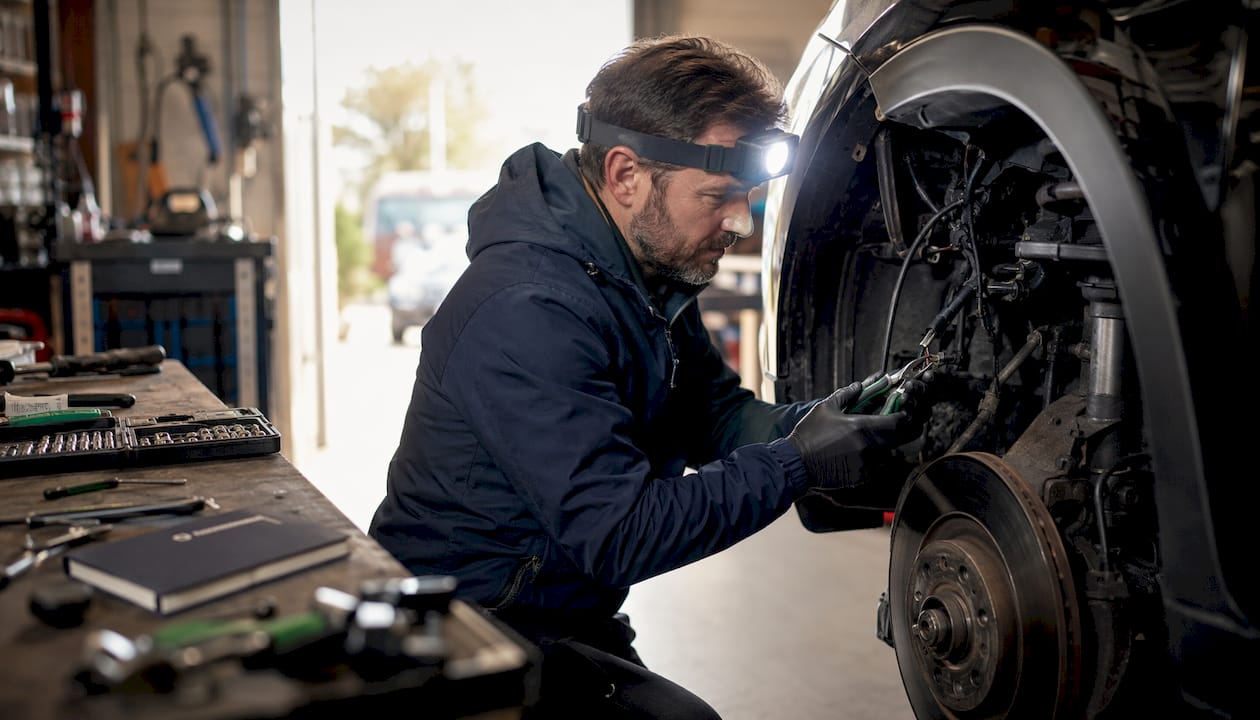
How to balance signal, security and stability in practice
Installer guidance describes the three-way balance as a trade-off: optimising for one priority at the expense of another creates a new failure mode. Here is what each priority requires and where the conflicts arise.
Signal integrity
- Choose a location with a clear view to the sky through glass or plastic (rear parcel shelf area, A-pillar base, under-dash with upward view to windscreen).
- Avoid any position covered by metal panels, foil-backed insulation, or metallic window tinting.
- Where concealment requires a metal-covered location, route an external antenna to a glass or plastic-faced area instead.
Physical security
- Choose a location that requires trim removal to access, not just a panel pop.
- Secure the device to a rigid metal plate or chassis member, not to flexible plastic.
- Confirm the wiring route does not create a visible trail leading directly to the device.
Mechanical stability
- Mount on a flat, rigid surface with no flex or vibration transfer from body panels.
- Use manufacturer-specified fixings; adhesive pads alone are rarely sufficient for a hardwired device.
- Verify the device does not shift when the vehicle is driven over rough ground.
Pro Tip: Choose an external antenna option when the best-concealed location is inside a metal-heavy area such as a van cab chassis or under a motorhome floor. The antenna cable can be routed to a plastic-faced area while the main unit stays hidden. This preserves both concealment and signal quality without compromise.
Placement guidance by vehicle type
Different vehicle classes present different challenges. The table below summarises the key dimensions; the notes that follow add the practical detail.
| Vehicle type | Signal integrity | Concealment difficulty | Wiring complexity |
|---|---|---|---|
| Car | Good (glass roof area, parcel shelf) | Moderate (trim removal needed) | Low to moderate |
| Van / commercial | Challenging (metal cab, shelving) | High (requires professional routing) | Moderate to high |
| Motorhome | Challenging (furniture, appliances) | High (living area access) | High |
| Trailer / unpowered asset | Requires external antenna | High (no interior trim) | High (battery or solar needed) |
Cars offer the most straightforward placement. The rear parcel shelf corner or the underside of the dashboard with an upward view to the windscreen are the preferred positions. The glovebox and engine bay are high-risk and should be avoided. For large or specialist vehicles, standard car-install assumptions do not apply.
Vans and commercial vehicles present a harder problem. Metal shelving and load-area panels block GPS signals effectively. The preferred approach is a hardwired install near the cab chassis, with the antenna routed to a plastic-faced area of the cab roof or windscreen surround. Running cables through the existing loom reduces discovery risk significantly.
Motorhomes add heat and moisture from cooking appliances and water systems. Proximity to a gas hob or water tank creates condensation risk for the device and wiring. External weatherproof antennas are often the only reliable solution, with the main unit mounted in a dry, ventilated cavity away from appliance heat.
Trailers and unpowered assets have no permanent power supply and no interior trim to hide behind. External weatherproof mounts with anti-tamper enclosures are standard. Battery or solar power alternatives must be sized to maintain tracking intervals between vehicle connections.
Why professional installation matters for safety and compliance
Wiring a tracker incorrectly is not just a security problem. It can create genuine vehicle safety risks.
Common wiring errors include tapping switched circuits that cut power when the ignition is off, using poor ground points that cause intermittent device dropout, and routing cables across moving parts such as steering columns or pedal mechanisms. A cable routed across a moving part can jam a control or chafe through insulation and cause a short circuit. Poor grounding causes voltage spikes that can interfere with the vehicle’s ECU.
- Airbag and pretensioner zones: never route cables or mount devices near airbag modules, seatbelt pretensioner units, or their wiring. Deployment forces are extreme and can cause serious injury if obstructed.
- Engine heat: sustained temperatures in the engine bay degrade connectors, insulation, and the device itself. Even a cable routed through the engine bay should use heat-resistant sleeving.
- Moisture ingress: connectors left unsealed in wheel arches or under-floor locations corrode quickly. Unsealed connectors are a leading cause of intermittent power loss.
Geotab’s installation guidance stresses following device-specific wiring and mounting warnings to reduce injury and equipment damage. Professional fitting addresses all of these risks through correct circuit selection, proper grounding, sealed connectors, and a final system test. Where vehicles are used by employees, organisations also carry legal responsibilities around location tracking and privacy; staff should be informed that tracking is in place.
How to test that your tracker placement is working
A tracker that has been installed but never tested may fail silently. These checks confirm the installation is performing as expected.
Pre-commission checks
- Confirm power wiring is on a permanent live circuit, not a switched feed.
- Verify earth continuity with a multimeter at the device ground point.
- Check the antenna routing for kinks, metal contact, or proximity to interference sources.
- Confirm the device is firmly mounted with no movement when pushed by hand.
- Arm the tamper sensor and verify the alert triggers correctly.
Commission tests
- Check satellite lock time from cold start: a well-placed device should acquire a fix within 60–90 seconds in an open area.
- Drive a known route and compare the logged track against the actual path in the monitoring platform.
- Trigger the tamper alert safely (consult the device manual) and confirm the alert reaches the monitoring centre.
- Test immobilisation and geofence alerts if the device supports them.
Maintenance steps
- Check firmware version every six months and update if available.
- Inspect wiring and connectors after any bodywork, panel removal, or service that involves the area near the device.
- Re-run the satellite lock test after any significant vehicle modification.
Pro Tip: In your telematics dashboard, watch for false motion events when the vehicle is parked, or for tracking gaps that appear as straight-line jumps between real positions. Both are reliable indicators of a placement problem: the first suggests a loose mount, the second suggests signal blockage.
How Thatcham approval and insurer expectations connect to placement
Thatcham Research defines tracker categories that insurers use when assessing a device’s suitability. The two most relevant categories for private and fleet vehicles are S7 and S5.
| Requirement | S7 (stolen vehicle tracking) | S5 (stolen vehicle tracking + driver ID) |
|---|---|---|
| continuous monitoring | Required | Required |
| GPS location accuracy | Required | Required |
| Battery back-up | Required | Required |
| Resistance to attack | Minimum standard | Enhanced standard |
| Driver identification | Not required | Required |
| Immobilisation | Not required | Required |
Thatcham category definitions specify monitoring, locateability, and resistance to attack as core requirements. All three depend directly on placement. A device that loses signal because it is mounted behind a metal panel fails the locateability requirement in practice. A device that can be removed without triggering an alert because it is poorly secured fails the resistance-to-attack standard.
Insurers expect the installation to preserve device function throughout the policy period. Professional fitting, with a documented installation certificate, reduces the risk of a claim being refused on the grounds that the device was not functioning correctly at the time of theft. Insurance-approved tracker best practices confirm that the certificate is the insurer’s evidence that the device was fitted to the required standard.
Thatcham Security Certification does not guarantee insurer recognition — that is negotiated individually by the product manufacturer and their insurer partners. Confirm with your insurer that the specific device and installation method meet their policy requirements.
The placement detail most owners overlook
The debate around tracker placement tends to focus on concealment. Hide it well enough and the thief cannot find it. That logic is sound as far as it goes, but it misses the more consequential failure mode: a device that is hidden so effectively that it cannot do its job.
The most common installation mistake is treating “hidden” and “secure” as the same thing. They are not. A tracker buried deep in a metal-heavy location may be genuinely difficult for a thief to find, but it is also difficult for the device to acquire a satellite fix, maintain cellular contact with the monitoring centre, or detect a genuine theft event cleanly. The result is a device that looks correct on paper, carries a Thatcham approval, and still fails when the vehicle is stolen.
The practical answer is to treat signal integrity as the primary constraint and then optimise concealment within that constraint. If the best signal location is also the easiest to find, the solution is better physical security at that location, not moving the device to a worse signal position. Where that trade-off is genuinely difficult, an external antenna resolves it cleanly. Professional installers make this call routinely. DIY installers rarely do.
Thatcham Trackers: approved devices with certified installation
Placement problems are solved at the point of installation, not after the fact. Thatcham Trackers supplies Thatcham-approved S5, S5+, and S7 trackers with nationwide mobile installation by certified engineers who balance signal integrity, physical security, and mechanical stability on every fit.

Every installation includes the Thatcham approval certificate your insurer requires, correct circuit selection, sealed connectors, and a full system test before the engineer leaves, often performed by a mobile installer service experienced in manufacturer standards and certified installation. For vans, the VanGuard Series addresses the specific challenges of metal-heavy commercial vehicles. Fleet managers and private owners can choose the right Thatcham tracker for their vehicle class and insurer requirement, then book installation directly. The paperwork, the placement, and the testing are handled as part of the service.
Useful sources
- Thatcham Research: security certifications — the primary source for Thatcham category definitions, certification criteria, and the product database insurers reference.
- Thatcham vehicle security national listing — the official listing of certified devices; use this to verify a specific device’s approval status.
- Carology: improper placement causes tracker failure — UK installer commentary on the most common placement failure modes, including metal interference and poor concealment.
- Carology: step-by-step GPS tracker installation for UK drivers — practical installation walkthrough covering power sourcing, concealment, and testing.
- Nationwide Fleet Installations: how to fit a telematics device — installer-level guidance on the three-way balance between signal, security, and stability.
- Geotab: GPS tracker installation guide — manufacturer-level safety guidance on wiring, grounding, and device-specific mounting warnings.
- Thatcham tracking system definitions guide (PDF) — the formal S5/S7 category specification document; the definitive reference for insurer and certification requirements.
- Thatcham Trackers: professional installation benefits explained — explains what certified fitting covers and why it reduces claim refusal risk.
- Thatcham Trackers: hardwired car tracker guide — technical reference for hardwired installs on cars and commercial vehicles.